Game Dev Articles
Oct 16, 2026 · 8 min read · DMG Forge
Unity dev tools: first 30 days starter plan
Why your first month in Unity tooling matters: technical debt compounds silently Every default setting you leave untouched in a new Unity project is a decision, whether you meant to make it or not. The color space, th...
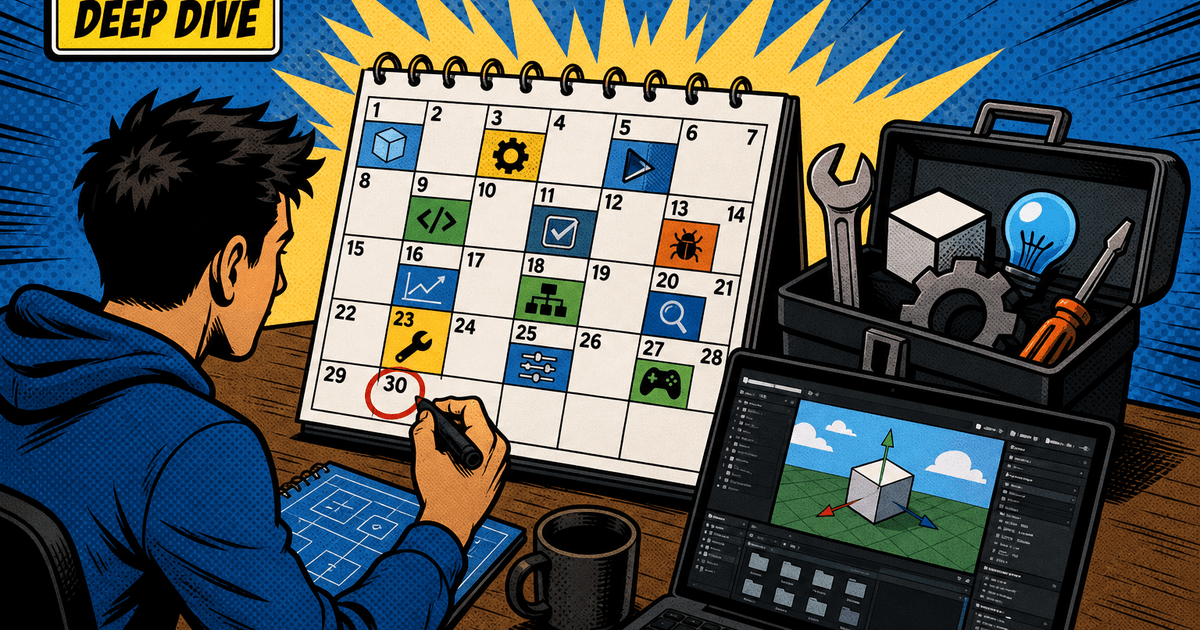
Why your first month in Unity tooling matters: technical debt compounds silently
Every default setting you leave untouched in a new Unity project is a decision, whether you meant to make it or not. The color space, the scripting backend, the folder structure you improvised at 11 PM - all of it becomes load-bearing the moment you build your first feature on top of it. This is why a unity dev tools first 30 days: a starter plan isn't optional process theater. It's risk management.
Technical debt in Unity doesn't announce itself. It doesn't throw a compiler error when you skip Addressables setup or ignore version control hygiene. It just sits there, quietly multiplying, until a six-month project needs a platform switch or a team of five needs to merge scenes without destroying each other's work. By then, fixing the foundation costs ten times what it would have cost to set it up correctly on day one.
This plan gives you four weeks of concrete setup work. Skip steps if you want. Just know what you're borrowing against.
Week 1: Configure your project foundation before it's too late
Your project settings are cheap to change on day one and expensive to change on day ninety. Lock these down before you write a single gameplay script.
- Color Space: Set this to Linear unless you have a specific reason not to. Switching later means re-baking lighting and re-tuning every shader that assumed Gamma.
- Scripting Backend: Choose IL2CPP for any project targeting mobile or console. Mono is fine for rapid prototyping, but migrating late means re-testing every native plugin.
- API Compatibility Level: .NET Standard 2.1 unless a third-party SDK forces you back to 2.0. Check your SDK vendors before committing.
- Managed Stripping Level: Start at Low during development. You'll tighten this before shipping, but aggressive stripping early makes debugging unnecessarily painful.
- Folder structure: Establish
Assets/_Project/as your team's namespace, separate from third-party packages. Anything dumped loose intoAssets/root becomes unsortable within weeks.
Document these choices in a README. Six weeks from now, nobody will remember why IL2CPP was mandatory - write it down now while the reasoning is fresh.
Week 2: Set up version control and build automation-don't skip this
If you're still emailing .unitypackage files or sharing a project folder over Dropbox, stop. This is the single most common month-one mistake, and it's the one that costs the most once a second developer joins.
Set up Git with a Unity-specific .gitignore from the start - Library/, Temp/, Obj/, and Build/ should never touch your repository. Use Git LFS for binary assets: textures, audio, and models bloat a standard Git history into something unworkable within a month.
Next, configure Unity's Smart Merge tool for scenes and prefabs. Unity's YAML format is technically text, but without a merge tool configured, two developers editing the same scene will produce a conflict that's faster to resolve by hand-redoing the work than by reading the diff.
Then build automation. You don't need a sophisticated CI/CD pipeline in week two, but you need a repeatable build process:
- Script your build steps using
BuildPipeline.BuildPlayeror a tool like Unity Cloud Build. - Automate at least one target platform build so "it works on my machine" stops being an acceptable status update.
- Version your builds - a simple incrementing build number beats "the one from Tuesday."
A ten-minute setup now prevents a four-hour merge-conflict session next sprint. That trade is never close.
Week 3: Choose your content pipeline: Addressables or you're accumulating waste
If you're still assigning asset references directly in the Inspector or shipping asset bundles by hand, you're accumulating technical debt that compounds with every new content drop. Addressables gives you a content catalog that decouples asset references from hard scene links, and it's the standard for any project expecting post-launch content updates.
Set it up in week three, not week thirty, because retrofitting Addressables into a project with hundreds of direct references is a multi-day refactor that nobody budgets for.
Concrete steps:
- Install the Addressables package and initialize the default settings.
- Convert your largest content categories first - character models, levels, audio banks - rather than trying to migrate everything at once.
- Define at least two groups: one for content that ships in the initial build, one for remote or downloadable content.
- Set your Build Path and Load Path variables now, even if you're not yet hosting remote content. Hardcoding these later means touching every group.
If your project is small enough that you're confident it will never need remote content, patching, or DLC, you can skip this. Most projects are not that small, and most teams underestimate what "small" means until scope creep proves them wrong.
Week 4: Profile your first scene and establish baseline metrics
You cannot optimize what you haven't measured, and you cannot catch regressions without a baseline. Week four is when you stop guessing and start profiling.
Open the Unity Profiler and the Frame Debugger against a representative scene - not an empty test scene, but one with your actual target asset density. Record these numbers and store them somewhere your whole team can see:
- CPU frame time: Break down by Main Thread, Render Thread, and Scripts. A scene that looks fine in the editor can hide a CPU spike that only appears on target hardware.
- GC Alloc per frame: Garbage collection spikes are a top cause of frame drops on mobile. Zero is the goal during steady-state gameplay; anything consistently above zero needs tracing.
- Draw calls and batches: High draw call counts point to missing batching, excessive material variants, or an unmanaged Addressables load.
- Memory footprint: Use the Memory Profiler package to snapshot texture and mesh memory before you scale content.
Write these numbers down. "Baseline: 11ms frame time, 0.2KB GC alloc, 180 draw calls" is a sentence you'll be grateful to have when a future build mysteriously drops to 45fps and nobody can say when it started.
Common month-one mistakes that cost you later
These are the recurring failures that show up in almost every Unity project that skipped its first-month setup:
- Ignoring the Color Space setting until lighting looks wrong. By then you're re-baking everything.
- Committing the
Libraryfolder to Git. This bloats repo size and causes merge conflicts on cache files that should never be shared. - No scene merge tool configured. Two people editing one scene without Smart Merge will eventually lose work, not just time.
- Treating Addressables as a "later" problem. Later always arrives after you've hardcoded a hundred asset references you now have to migrate manually.
- Never profiling until performance complaints start. Without a baseline, every performance bug becomes a scavenger hunt instead of a diff.
- Skipping build automation because "the team is small." Small teams are exactly the ones who can't afford a developer burning an afternoon on manual build steps.
None of these mistakes are fatal individually. Stacked together across a month, they're the difference between a project that scales and one that needs a rewrite at month six.
Your day-31 checklist: what you should have locked down
By the end of your first 30 days, you should be able to check off every item below. If you can't, you know exactly where your technical debt is hiding.
- [ ] Color Space, Scripting Backend, and API Compatibility Level set and documented
- [ ] Project folder structure established with a clear separation between project code and third-party packages
- [ ] Git repository configured with a Unity-specific
.gitignoreand Git LFS for binaries - [ ] Smart Merge configured for scenes and prefabs
- [ ] At least one automated build pipeline for your primary target platform
- [ ] Addressables installed, initial groups defined, build/load paths set
- [ ] Baseline Profiler metrics recorded for CPU frame time, GC allocation, draw calls, and memory
- [ ] A README or wiki page documenting every setup decision above, with reasoning
This checklist isn't about perfection. It's about making sure the decisions you've made were deliberate, not accidental. A project built on deliberate foundations can absorb scope changes, team growth, and platform pivots. A project built on defaults just accumulates debt until someone has to pay it down - usually at the worst possible time.
Related Reading
Article complete
XP lands automatically when you reach the end.
Rate this article
Comments
Comments are held for moderation before appearing publicly.