
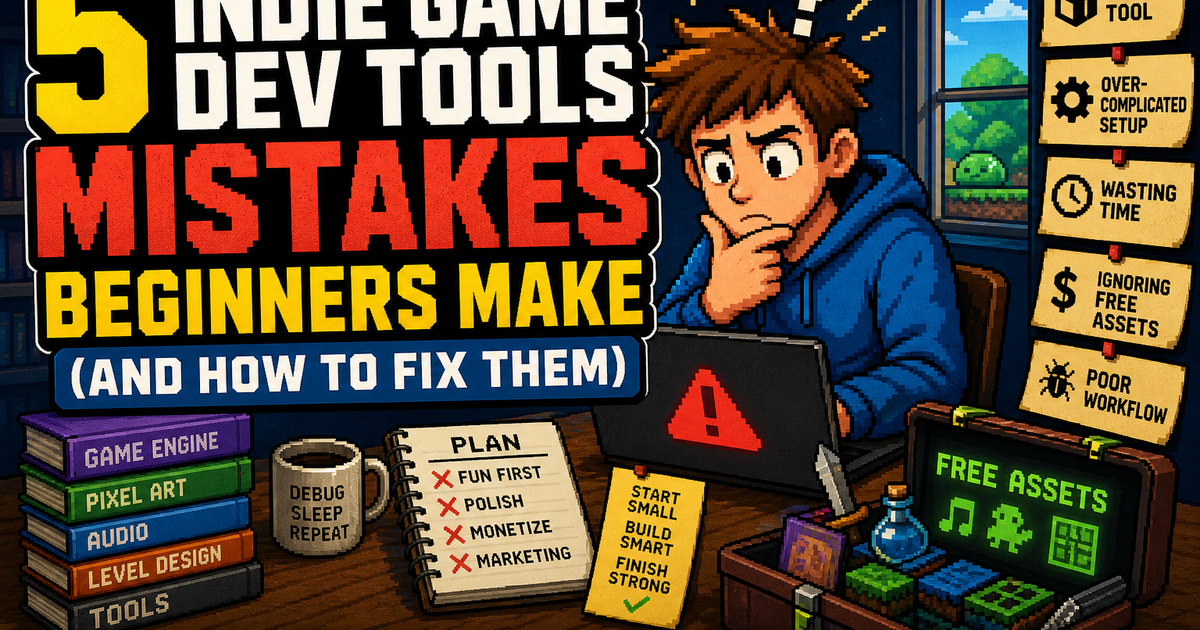
Indie game dev tools mistakes beginners make often come down to poor foundational choices. You pick the wrong engine, skip free assets, ignore backups, chase shiny tools, and delay optimization until your game crawls. Each of these decisions costs weeks. This guide walks you through what actually matters and how to correct course before you’ve already shipped broken code or rebuilt systems twice.
Picking the Wrong Engine for Your Game Type
Your engine choice determines your entire development velocity. Too many solo developers spend months in an engine that fights their game design instead of supporting it.
Unity works well for 2D pixel art, mobile games, and VR projects. Unreal Engine excels at 3D visuals and demanding graphics but requires significantly more hardware and has a steeper C++ learning curve. Godot is lightweight, free, and ideal for 2D games—though its 3D support is still catching up. Game Maker is the right choice for 2D-focused developers who want rapid iteration without wrestling a general-purpose engine.
The mistake isn’t picking the “wrong” engine in absolute terms. It’s picking an engine whose strengths don’t match your game. If you’re building a cozy farming sim, don’t use Unreal. If you need AAA-grade visuals and have the time to learn it, Unity or Unreal makes sense. If you’re prototyping fast, Godot or Game Maker saves you weeks.
Test your engine choice on a small vertical slice—a single playable section of your game with real mechanics. Don’t commit to six months of development based on a tutorial. This costs a weekend. Skipping it costs months of regret.
Ignoring Free Assets Until You’re Already Deep In Development
Free assets feel like a temporary solution. You plan to replace placeholder art and sound later. You never do, and now you’re stuck with inconsistent visuals or silent gameplay because proper assets require rework you don’t have time for.
Start with free assets on day one. Sites like itch.io, OpenGameArt, and Freesound have thousands of production-quality sprites, music loops, sound effects, and UI kits. Using real assets early forces you to design around what’s actually available instead of imagining a visual style you can’t execute. It also gives your game a coherent look from the start, which matters for motivation and playtester feedback.
Free doesn’t mean low-quality. Many indie developers release full asset packs—complete tilesets, character animations, and music libraries. Some are better than what solo developers could create alone. The catch is finding them and understanding their licenses. Always confirm whether an asset allows commercial use and whether it requires attribution in your game credits.
Create a shared folder of verified free assets early. Tag them by game type (top-down, platformer, puzzle) and license status. This takes a Saturday afternoon and saves weeks of desperate searching when you realize your prototype needs actual art.
Underestimating Version Control and Backup Failures
You’ll lose work. Your hard drive will fail, your computer will crash mid-session, or you’ll overwrite something critical and not notice for two weeks. Version control isn’t optional—it’s insurance that costs nothing and saves your project.
Git with GitHub, GitLab, or Gitea is the standard. This sounds intimidating if you’ve never used it, but you need only five commands: clone, add, commit, push, and pull. Spend two hours learning them. Every time you reach a stable build state, commit your changes with a descriptive message. Push to a remote server weekly.
Don’t rely on cloud storage alone. OneDrive and Google Drive sync files but don’t track changes the way version control does. If you accidentally delete a folder and it syncs across all your devices, you’ve lost weeks of work. Version control prevents this by maintaining a complete history you can roll back to.
Set up automatic backups in addition to version control. Crash your test build constantly—that’s your job during development. But your source files need redundancy. Use a second external drive, cloud storage, or both. Backups take five minutes to configure and prevent genuine catastrophe.
Chasing Every Tool Instead of Mastering One Workflow
New tools arrive constantly. Better pixel art software. Faster build systems. Collaboration platforms that promise to solve team communication. Each one looks like a game changer, and each one pulls you away from actual game development.
Your workflow should include exactly these: a game engine, a version control system, a code editor (built into most engines), and optional specialized tools for art or audio if you’re outsourcing those. That’s it. Everything else is distraction.
The cost of switching tools mid-project is high. You learn a new interface, export assets in different formats, configure build pipelines differently. You lose a week of momentum. Beginners often spend more time evaluating tools than using them.
Pick one engine. Pick one version control system. Use them for two complete projects before considering alternatives. After two projects, you’ll know enough to make informed decisions about what’s actually slowing you down versus what’s just unfamiliar. Most of the time, the limitation isn’t the tool—it’s experience using it.
Skipping Profiling Until Your Game Runs Like Garbage
Your game plays great on your machine during development. You ship it. Players report stuttering, frame drops, and crashes on different hardware. You spend weeks hunting for performance bottlenecks you could have found in two hours with profiling.
Profiling means measuring where your game spends CPU and GPU time. Modern engines include built-in profilers: Unity has the Profiler window, Unreal has Unreal Insights, Godot has a built-in debugger. They show you exactly which functions consume the most time and where memory usage spikes.
Run profiling every two weeks during active development. Spend thirty minutes looking at the data. If you see a spike in physics calculations or rendering time, that’s your signal to optimize or simplify. If you wait until your game is unplayable, optimization becomes painful archaeology.
Common performance killers: calling expensive functions every frame (especially in physics or UI updates), loading large assets without caching them, running physics on too many objects, or unoptimized art assets. Profiling catches these before they become problems. Ignoring profiling means discovering them in angry user reviews.
Where to Find Reliable Free Tools Without the Learning Curve Tax
Free tools are abundant, but not all are worth your time. Some have brutal learning curves that consume more hours than they save. Others are abandoned and break after engine updates.
Asset libraries: itch.io and OpenGameArt have the largest collections. Both are community-driven and include quality filters. Freesound.com for audio. OpenGameArt specializes in game-ready assets with clear licenses.
Engines: Godot and Unity (with free tier) are the most reliable. Both have documentation and active communities. Godot is smaller but growing quickly.
Version control: GitHub (free for public and private repos) or Gitea (self-hosted, free). GitHub is the standard—you’ll find more tutorials and support there.
Art tools: Aseprite (paid, worth it) or Piskel (free, browser-based) for pixel art. Krita (free) for digital painting. Both have learning curves, but tutorials exist for every common task.
Audio: FMOD Studio (free tier for indie games) or Wwise (similar free tier). Both are industry-standard but complex. Simpler alternative: Audacity for editing, then play audio files directly from your engine.
Code editors: Visual Studio Code is free and works well with every engine. Your engine’s built-in editor usually suffices for learning, but VS Code gives you better debugging and plugin support.
The reliable ones are older, well-documented, and have active communities asking and answering questions. Skip trendy tools with small communities—you’ll hit problems nobody’s solved yet. Start with what works for thousands of developers already.